The iPhone’s clipboard is a fantastic tool that makes copying and pasting information a breeze. However, finding it can sometimes seem like a daunting task, especially for newer iPhone users. This blog post will walk you through the proven methods on how to find and utilize the clipboard on your iPhone 6 to iPhone 13 and everything in between!
but before you jump into the post, beyond figuring out your iPhone’s clipboard, it’s essential to master other functionalities, such as learning how to charge your Apple Pencil using your iPhone, to make the most out of your Apple devices.
The iPhone Clipboard Explained
The clipboard is an inherent part of your iPhone’s operating system. It’s a temporary storage area that holds the data you’ve copied or cut, ready to be pasted somewhere else. Whether it’s text, images, links, or even files, the clipboard keeps it all for you, albeit temporarily.
However, unlike some other devices, the iPhone does not have a dedicated app or area where you can directly access the clipboard. So, how do you find it?
Accessing It on iPhone 6-13
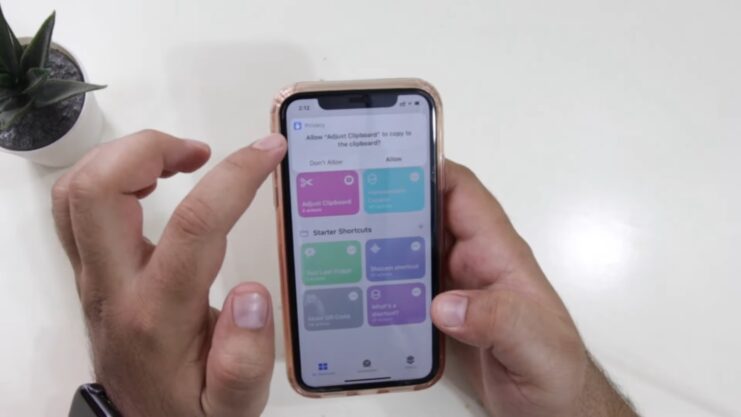
To access it on your iPhone, you don’t need to navigate to a particular place or use a special app. The clipboard is accessible wherever you can input text or other data types you’ve copied.
Here’s a simple step-by-step guide:
- Step 1: Copy Something to Your Clipboard – Open an app or webpage where you can highlight text, images, or other data. Long press the selected item until a pop-up menu appears, then tap “Copy.” The information is now on your clipboard.
- Step 2: Navigate to Where You Want to Paste the Information – Go to the app or webpage where you want to paste the copied data.
- Step 3: Paste the Copied Data – Long press the screen where you want to paste the data. When the pop-up menu appears, select “Paste”. The data from your clipboard will appear in the selected area.
That’s it! You’ve just accessed your clipboard.
[su_note note_color=”#93e6b7″]Pro Tip: If you’re using an iPhone with 3D Touch (iPhone 6s to iPhone X), you can access the “Paste” function faster by pressing hard on the screen instead of long-pressing.[/su_note]
Clipboard Limitations and Workarounds
While the iPhone’s clipboard is incredibly useful, it does have its limitations. For instance, it can only store one item at a time. When you copy something new, it overwrites the previous data.
Additionally, there’s no way to view the clipboard’s content without pasting it. This might be inconvenient when you want to check what’s currently stored there.
Thankfully, Apple introduced a feature called “Clipboard History” with iOS 14, which is a game-changer.
Clipboard History and How to Use It
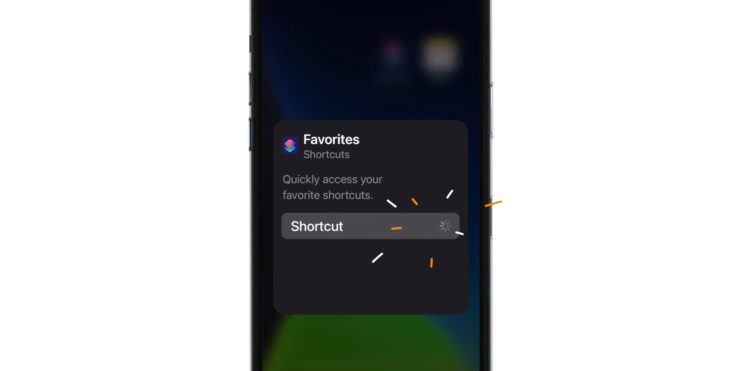
Clipboard History is part of the “Universal Clipboard” feature that allows copying and pasting across different Apple devices. It can store a history of the things you’ve copied, but it’s not enabled by default.
To enable Clipboard History, follow these steps:
- Step 1: Open Settings – Tap on the Settings icon from your iPhone’s home screen.
- Step 2: Navigate to General – Scroll down the Settings page until you see “General”, then tap on it.
- Step 3: Go to Keyboard – In the General settings, you’ll find the “Keyboard” option. Tap on it to open the keyboard settings.
- Step 4: Enable Slide on Floating Keyboard to Type – In the Keyboard settings, you’ll see a switch titled “Slide on Floating Keyboard to Type.” Toggle this switch on to enable Clipboard History.
After enabling this feature, you can access your clipboard history by following these steps:
- Step 1: Activate the Floating Keyboard – Open any app where you can type, such as Notes or Messages. Long press on the keyboard switcher or emoji icon at the bottom of the keyboard, then select “Floating” from the pop-up menu.
- Step 2: Access History – Slide up or down on the floating keyboard with three fingers. This will bring up your clipboard history, where you can see the last few items you’ve copied.
- Step 3: Select and Paste an Item from Clipboard History – To paste an item from your history, simply tap on it. This will paste the selected item into your current text field.
While this method may not be as straightforward as having a dedicated clipboard app, it’s an effective way to manage your history on an iPhone.
Third-Party Clipboard Manager Apps
If you frequently need to juggle multiple items on your clipboard, you might find the native clipboard features on iPhone a bit restrictive. In this case, you can consider using third-party clipboard manager apps. These apps offer features such as saving multiple clips, organizing clips into categories, and even syncing clips across devices.
Here are a few apps you might want to check out:
- Copied – This is a full-featured clipboard manager that lets you save text, links, and images that you’ve copied. You can organize your clips into lists and even sync them across iOS devices.
- Paste – Paste is another robust clipboard manager. It visually displays your clipboard history and allows you to categorize clips. It’s also available on Mac, so you can seamlessly sync your clips across devices.
- Clipper+ – Clipper+ offers similar features as the above apps, but it also lets you create “snippets” – frequently-used pieces of text that you can easily paste without having to copy them first.
Remember to thoroughly review any third-party app’s privacy policy before downloading, as clipboard managers can access any data you copy.
How to Use Universal Clipboard on Your iPhone
The Universal Clipboard is another great feature that Apple offers to enhance the user experience. It allows you to copy data on one Apple device and paste it on another. This feature is incredibly handy when you’re working with multiple devices, such as an iPhone and a Mac.
Here’s how you can use the Universal Clipboard:
- Step 1: Sign into Your Apple ID – Ensure that all devices involved are signed in with the same Apple ID.
- Step 2: Enable Handoff – On your iPhone, go to Settings > General > AirPlay & Handoff and toggle on Handoff. On your Mac, go to System Preferences > General and check the Allow Handoff box.
- Step 3: Copy on One Device – Copy the text, image, or other content on one device as you normally would.
- Step 4: Paste on Another Device – Go to the other device and paste the content. If both devices are within Bluetooth range and connected to Wi-Fi, the content should paste seamlessly.
Additional Features in iOS 15 and Above
Apple introduced several enhancements to the clipboard with iOS 15. While these features aren’t available on the iPhone 6, they’re worth mentioning for users with iPhone 6s and above.
- Live Text: This feature allows you to copy text directly from your camera viewfinder or any image in your Photos app. You can then paste this text wherever you like.
- Visual Lookup: Visual Lookup lets you copy information about popular landmarks, artworks, plants, pets, and books directly from photos.
- Drag and Drop: Available on iPhones with iOS 15 and above, this feature allows you to “pick up” text, images, files, and more, then “drop” them into another app. While it’s not technically a clipboard function, it does offer a similar copy-and-paste dynamic.
How to Clear Your iPhone Clipboard
While the iPhone clipboard automatically clears every time you restart your device or copy new content, you might want to manually clear it for privacy reasons. Here’s a quick way to do it:
- Step 1: Open the Notes App Open a new note or an existing one.
- Step 2: Copy a Blank Space Tap and hold on to a blank space in the note until the copy/paste menu appears. Select “Select,” then “Copy.”
You’ve just replaced whatever was on your clipboard with a blank space, effectively clearing it.
Final Words
Knowing how to effectively use your iPhone’s clipboard can significantly improve your productivity. Whether you’re compiling information for work, sharing content with friends, or simply organizing your thoughts, these proven methods will help you make the most of this essential tool.

